As an Amazon associate we earn from qualifying purchases. Thanks for your support!                               
×

Best Blu-ray Movie Deals


Best Blu-ray Movie Deals, See All the Deals »
Top deals | New deals  
 All countries United States United Kingdom Canada Germany France Spain Italy Australia Netherlands Japan Mexico
A Better Tomorrow Trilogy 4K (Blu-ray)
$82.99
2 hrs ago
Superman I-IV 5-Film Collection 4K (Blu-ray)
$74.99
 
Shudder: A Decade of Fearless Horror (Blu-ray)
$101.99
17 hrs ago
The Toxic Avenger 4K (Blu-ray)
$39.02
1 hr ago
Back to the Future Part III 4K (Blu-ray)
$24.96
 
Alfred Hitchcock: The Ultimate Collection 4K (Blu-ray)
$124.99
1 day ago
Corpse Bride 4K (Blu-ray)
$23.79
13 hrs ago
Jurassic World: 7-Movie Collection 4K (Blu-ray)
$99.99
 
The Howling 4K (Blu-ray)
$35.99
 
Superman 4K (Blu-ray)
$29.95
 
Teenage Mutant Ninja Turtles Trilogy 4K (Blu-ray)
$70.00
 
Back to the Future Part II 4K (Blu-ray)
$24.96
 
What's your next favorite movie?
Join our movie community to find out


Image from: Life of Pi (2012)

Go Back   Blu-ray Forum > Movies > Blu-ray Movies - North America
Register FAQ Community Calendar Today's Posts Search


Reply
 
Thread Tools Display Modes
Old 08-31-2011, 05:31 PM   #7581
Nissen Nissen is offline
Special Member
 
Nissen's Avatar
 
May 2010
3
Default

Quote:
Originally Posted by threefiftyrocket View Post
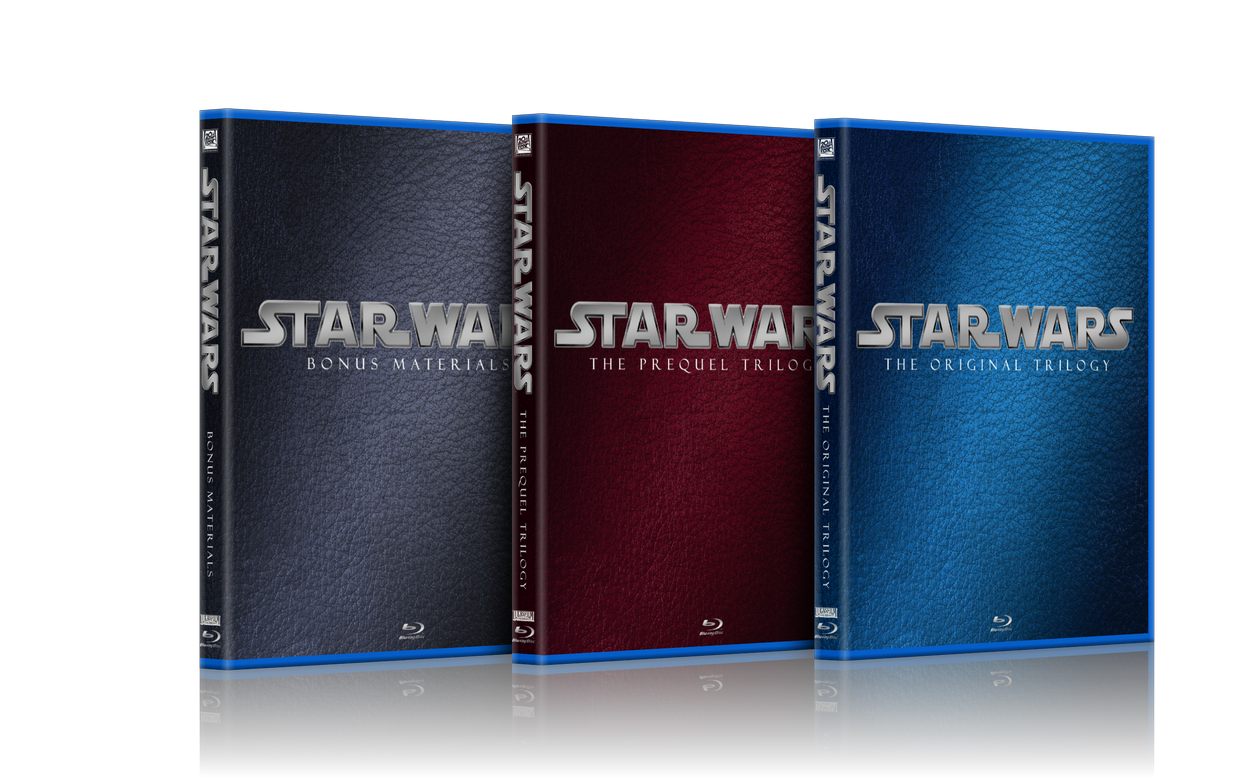
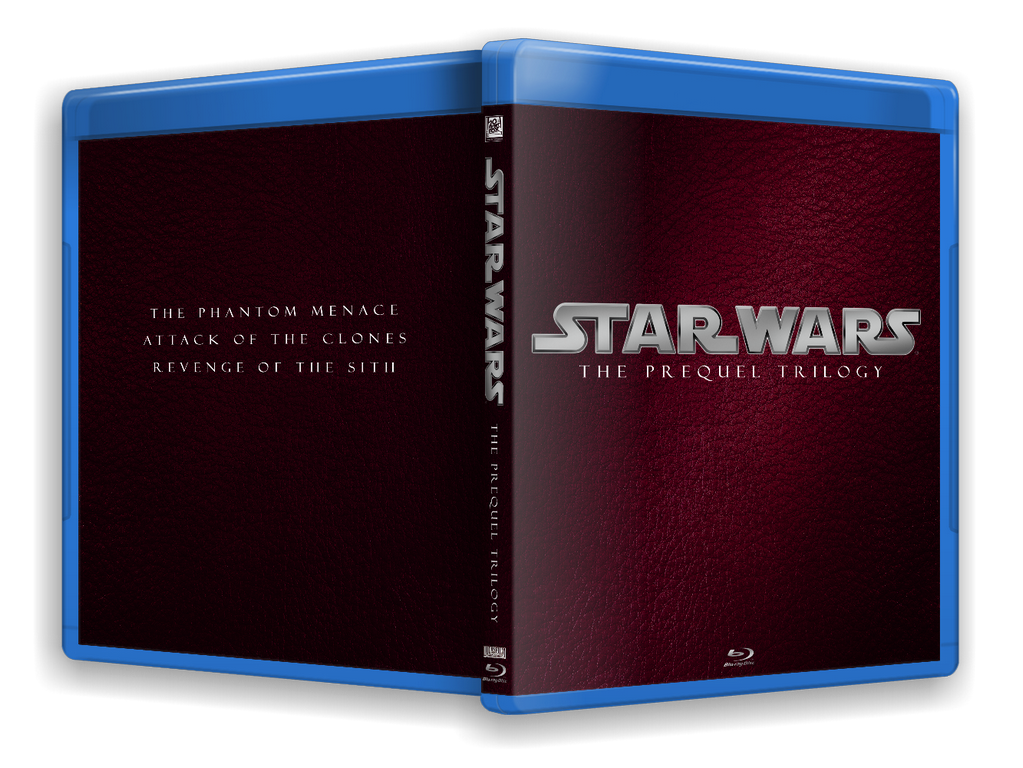
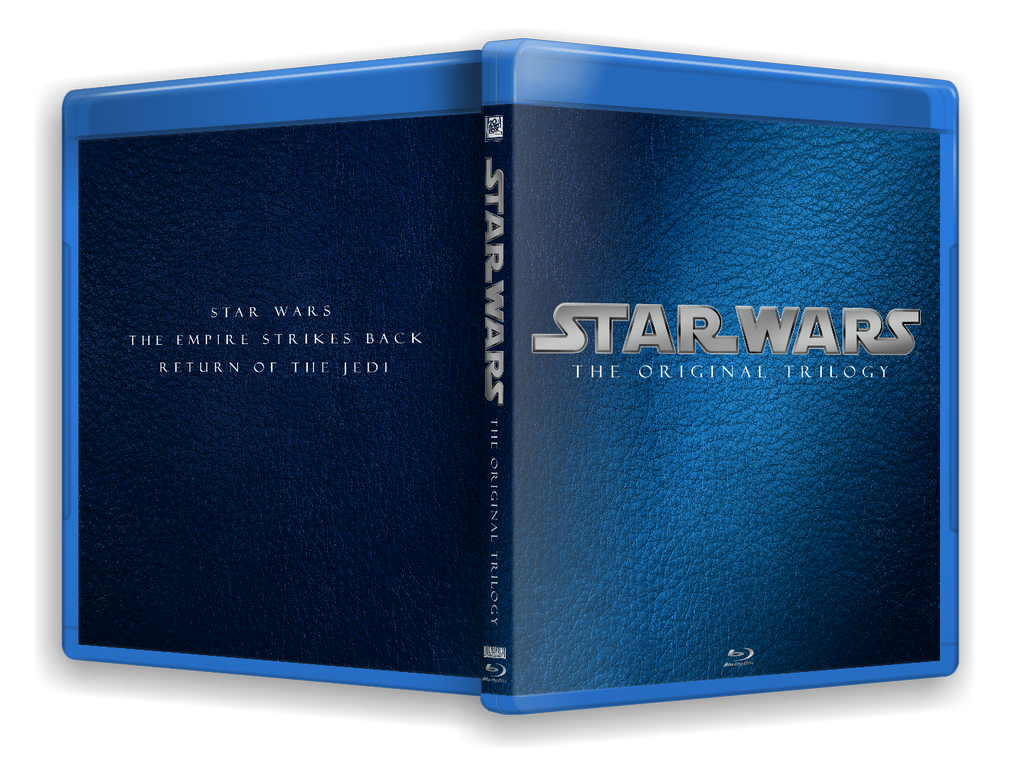
Man Nissen, those Star Wars covers really suck...

Nice Job

I really dig the textured look of those, DV8 made some LotR covers and started some Harry Potter covers that used the same type of background, very nice looking!
To quote Louis Jourdan from the classic Return of the Swamp Thing: "Laughter is best".

Yeah, I know about the textures. Seems like we're all fans of the faux leather look. I'm going to have to stop using it now. It's been done.

Let's see, there was stone texture for my Ben-Hur, Dirt texture for Terror in the Aisles, Rust texture for Punisher, Hide texture for the Conans, what's left? I miss the omnipresent starfield backgrounds from the 80's. I may have to bring that back
  Reply With Quote
Old 08-31-2011, 05:37 PM   #7582
Nissen Nissen is offline
Special Member
 
Nissen's Avatar
 
May 2010
3
Default

Quote:
Originally Posted by Coov View Post
Instead of sending out private messages I just decided to formally state in here that I am not releasing my Star Wars covers. I had hoped they would have been something worth purchasing. Sorry.
I just noticed the similarities between your set and my first set. I assure you it was wholly coincidental. Great minds and all that....

It's a great looking set and I wish you'd reconsider.

Am I to take it you were soliciting offers for the set? Unsuccessfully?
  Reply With Quote
Old 08-31-2011, 06:00 PM   #7583
Coov Coov is offline
Active Member
 
Dec 2008
282
379
Default

Quote:
Originally Posted by Nissen View Post
I just noticed the similarities between your set and my first set. I assure you it was wholly coincidental. Great minds and all that....

It's a great looking set and I wish you'd reconsider.

Am I to take it you were soliciting offers for the set? Unsuccessfully?
Most of my stuff have been for fan edits. These would have been to share/ replace the BD versions. I may complete them if I find a fan edit that would require me to purchase these, but use the covers for those edits.

I always end up with the textured look. Kind of a signature, I guess.

Great minds indeed, but still... I don't get overprotective if others use my work as inspiration.

You have some GREAT work, BTW!

Last edited by Coov; 08-31-2011 at 06:20 PM.
  Reply With Quote
Old 08-31-2011, 07:19 PM   #7584
stingermck stingermck is offline
Member
 
Aug 2011
9
Default

Quote:
Originally Posted by Coov View Post
Instead of sending out private messages I just decided to formally state in here that I am not releasing my Star Wars covers. I had hoped they would have been something worth purchasing. Sorry.
Was looking forward to your set, but understandable.
  Reply With Quote
Old 08-31-2011, 07:25 PM   #7585
DrrnHarr DrrnHarr is offline
Power Member
 
DrrnHarr's Avatar
 
Dec 2008
Wisconsin
41
818
352
2122
6033
6958
282
13
3
Default

Quote:
Originally Posted by darmar106 View Post
is there an alternative for Back to the Future? I dont really care for the box thing and I want something that will go into the case for the old BTTF trilogy
There are several in this thread. It was actually searching for a replacement cover for the BTTF trilogy that got me interested in custom cover design. I think that the box the trilogy was sold in was one of the worst examples of packaging out there.

Last edited by DrrnHarr; 08-31-2011 at 08:44 PM.
  Reply With Quote
Old 09-01-2011, 12:11 AM   #7586
Guydowood Guydowood is offline
Blu-ray Ninja
 
Guydowood's Avatar
 
Aug 2008
Guydowood
1430
3246
74
1255
1620
1511
1266
4281
53
Default

Curious if anyone will be doing customs for these: thx

nightmare_on_elm_street_two.jpg nightmare_on_elm_street_three.jpg
  Reply With Quote
Old 09-01-2011, 12:54 AM   #7587
Dynamo of Eternia Dynamo of Eternia is offline
Blu-ray Knight
 
Dynamo of Eternia's Avatar
 
Dec 2007
335
1857
1573
3
Default

Quote:
Originally Posted by Nissen View Post
Here's the full set (AKA the "VERY poor work" set):
[Show spoiler]


PM is the answer.
Simple, but effective.
  Reply With Quote
Old 09-01-2011, 06:00 AM   #7588
darmar106 darmar106 is offline
Member
 
Aug 2010
2
Default

So I dont know what I'm doing wrong but when I print out a cover it doesn't quite fit..the width and height are a bit short
  Reply With Quote
Old 09-01-2011, 06:18 AM   #7589
OrlandoEastwood OrlandoEastwood is offline
Blu-ray Champion
 
OrlandoEastwood's Avatar
 
Jun 2008
R-Point
86
24
Default

A buddy asked me to do a custom on The Green Mile. I just started but I got to ready another screener for my film, so this will be all for tonight. I still have to fix all the credits on the back and stuff.

  Reply With Quote
Old 09-01-2011, 01:04 PM   #7590
bartlettphoto bartlettphoto is offline
Active Member
 
bartlettphoto's Avatar
 
Feb 2008
Richmond, VA
1
Default

Quote:
Originally Posted by OrlandoEastwood View Post
[Show spoiler]A buddy asked me to do a custom on The Green Mile. I just started but I got to ready another screener for my film, so this will be all for tonight. I still have to fix all the credits on the back and stuff.

Struzan should never be relegated to the back cover... unless he's also on the front! Good start, but please make all of your logos and the front text smaller.
  Reply With Quote
Old 09-01-2011, 05:48 PM   #7591
Eny- Eny- is offline
Blu-ray Guru
 
Eny-'s Avatar
 
Dec 2008
Lisbon, Portugal
10
73
1377
14
Default

Alternative. I think the front cover it's too crowed

  Reply With Quote
Old 09-01-2011, 06:08 PM   #7592
DrrnHarr DrrnHarr is offline
Power Member
 
DrrnHarr's Avatar
 
Dec 2008
Wisconsin
41
818
352
2122
6033
6958
282
13
3
Default

Quote:
Originally Posted by darmar106 View Post
So I dont know what I'm doing wrong but when I print out a cover it doesn't quite fit..the width and height are a bit short
Download Undercover XP. Drag the jpeg into the window, be sure to check Blu-ray and then send it to print. The program sizes the cover to fit.

Been busy acquainting myself with the pen tool. I found a high resolution copy of "The Living Daylights" poster (1497 x 2277 pixels) on a site that specializes in high resolution posters. This has always been one of my favorite 007 posters since seeing it displayed in theaters back in 1987, so I decided to give the Photoshop pen tool a run for its money:


Incidentally, those of you who expressed an interest in the "Flash Gordon" custom cover and I know there's a few of you. I received a high resolution copy of the poster cover art (2134 x 2626) from the same poster site mentioned above and am reworking the cover, I might also search out some high res images for the top of the back cover:


Last edited by DrrnHarr; 09-01-2011 at 06:10 PM.
  Reply With Quote
Old 09-01-2011, 06:17 PM   #7593
insomniac013 insomniac013 is offline
Blu-ray Samurai
 
insomniac013's Avatar
 
Feb 2010
Gravity Falls
1
1
Default

Quote:
Originally Posted by Nissen View Post
DVDMike made one using the bottom poster. He's not currently active on this forum, but if you go back a few pages and PM him from one of his posts, you may just get lucky.
Thanks man, i'll keep an eye out!
  Reply With Quote
Old 09-01-2011, 06:31 PM   #7594
Nissen Nissen is offline
Special Member
 
Nissen's Avatar
 
May 2010
3
Default

Quote:
Originally Posted by Eny- View Post
Alternative. I think the front cover it's too crowed

[Show spoiler]
I think using the menu graphic is a great idea. Perhaps even better if you were doing individual covers?

Still, the image seems terribly off-balance with the ship split up across the front, spine and back. Are you Photoshop savvy enough to take it out and move it more to the center of the front? I'd be more than happy to do it for you if you like? I'd repaint the hole in the background and put the ship on a separate layer so you could place it freely. Just let me know.

I agree that you don't need anything more on the front, your first version was better.

Looking forward to seeing more of your work.
  Reply With Quote
Old 09-01-2011, 06:39 PM   #7595
Nissen Nissen is offline
Special Member
 
Nissen's Avatar
 
May 2010
3
Default

Quote:
Originally Posted by DrrnHarr View Post

Been busy acquainting myself with the pen tool. I found a high resolution copy of "The Living Daylights" poster (1497 x 2277 pixels) on a site that specializes in high resolution posters. This has always been one of my favorite 007 posters since seeing it displayed in theaters back in 1987, so I decided to give the Photoshop pen tool a run for its money:
[Show spoiler]
What exactly do you use the pen-tool for? Clipping out the black?

If so I have found several other methods in Photoshop that could yield faster (and better) results.
  Reply With Quote
Old 09-01-2011, 10:22 PM   #7596
Nissen Nissen is offline
Special Member
 
Nissen's Avatar
 
May 2010
3
Default

This took 12 minutes, including opening and saving the file (Yes, I timed myself), and it's on a transparent layer, ready to be composited seamlessly into any background. It could use some refinements on the palm trees, but otherwise it's fine. Just compare the edges along the streaks under the car, and the top of the smoke plume on the top right. The pen tool isn't the best choice for this kind of work.


I'll do a little How-to tomorrow, right now I'm too knackered. (It's past midnight, local time).
  Reply With Quote
Old 09-02-2011, 01:02 AM   #7597
DrrnHarr DrrnHarr is offline
Power Member
 
DrrnHarr's Avatar
 
Dec 2008
Wisconsin
41
818
352
2122
6033
6958
282
13
3
Default

Quote:
Originally Posted by Nissen View Post
This took 12 minutes, including opening and saving the file (Yes, I timed myself), and it's on a transparent layer, ready to be composited seamlessly into any background. It could use some refinements on the palm trees, but otherwise it's fine. Just compare the edges along the streaks under the car, and the top of the smoke plume on the top right. The pen tool isn't the best choice for this kind of work.

I'll do a little How-to tomorrow, right now I'm too knackered. (It's past midnight, local time).
I'd be intrigued to learn how you did that so fast.

I was able to do the below in 20 minutes using background eraser which is a lot faster than the pen, but the results were less than impressive


Last edited by DrrnHarr; 09-02-2011 at 03:18 AM.
  Reply With Quote
Old 09-02-2011, 02:37 PM   #7598
Nissen Nissen is offline
Special Member
 
Nissen's Avatar
 
May 2010
3
Default

I apologize in advance for straying off-topic. This will be my first and only tutorial in this thread.

Here's one way of erasing single-coloured backgrounds against complex shapes like starfields, explosions etc.

I stress that there is no single right way to do anything in Photoshop. I believe it's actually a strength of the program that many roads lead to rome. This is just the way I do it. I'm assuming at least basic knowledge of layers and masks in Photoshop.

Taking the Living Daylights poster as an example.


Make sure you have the Layer Palette open.
First copy the layer so that you have two identical layers of the poster.
(Layer-> Duplicate Layer)

Turn off the top layer (Click the eye-icon) and activate the bottom one. Unlock it by double-clicking so that it becomes "Layer 0".

Go to Select -> Color Range. A new meny shows up. Use the eyedropper tool to select the black area in the preview window and set fuzziness to 150 (whatever seems to encompass all the blacklevels in the poster.)
Click OK.

You should now be left with an active selection (marching ants) around every black pixel in the image.
I usually feather this selection (Select-> Modify-> Feather) by 1 pixel to make the edges smoother.

Leaving the selection active, go to Layer-> Layer Mask-> Reveal all.
The layer mask thumbnail should be visible next to "Layer 0" in the Layer Palette.

Use the Paint Bucket tool to fill the selection with black.
Deselect (Control D)

Now you're left with a version of the poster with no black in it at all:


But we want to reinstate the black in the actual image. That's where the duplicate layer, "Background Copy" comes in.

Activate the "Background Copy" layer again (Click the eye-icon).
Click Layer-> Layer Mask-> Reveal All.

Using a large brush, 0% hardness, manually paint the mask around the edges of the image so that the underlying layer (The no-black layer) comes through, leaving the center of the image alone. It's an artistic call where you paint out the blacks or not. The good thing about layer masks is that you can add or subtract to them indefinitely, without destroying any of the underlying image.

Here's a work-in-progress:


When you're satisfied, all you do is merge the two layers
(Shift-click both layers in the Layer Palette, right-click and choose Merge Layers in the drop-down menu. Don't use Flatten Image because you'll lose the transparency. Erase the writing either before or after you merge.
You are now left with this:


Drag 'n drop into your cover or save as a separate PSD-file for future use.
  Reply With Quote
Thanks given by:
Formal Andy (04-03-2017)
Old 09-02-2011, 03:15 PM   #7599
Eny- Eny- is offline
Blu-ray Guru
 
Eny-'s Avatar
 
Dec 2008
Lisbon, Portugal
10
73
1377
14
Default

Quote:
Originally Posted by Nissen View Post
I think using the menu graphic is a great idea. Perhaps even better if you were doing individual covers?

Still, the image seems terribly off-balance with the ship split up across the front, spine and back. Are you Photoshop savvy enough to take it out and move it more to the center of the front? I'd be more than happy to do it for you if you like? I'd repaint the hole in the background and put the ship on a separate layer so you could place it freely. Just let me know.

I agree that you don't need anything more on the front, your first version was better.

Looking forward to seeing more of your work.
I actually left the ship split up on purpose like it was emerging from somewhere but you are right it is off-balanced with those huge gaps of sky and water on the right.

Thanks for the offer. I went the easier route. What about now?

  Reply With Quote
Old 09-02-2011, 03:55 PM   #7600
threefiftyrocket threefiftyrocket is offline
Blu-ray Guru
 
threefiftyrocket's Avatar
 
Apr 2009
Carmel, IN
478
1
3
Default

Quote:
Originally Posted by Nissen View Post
[Show spoiler]I apologize in advance for straying off-topic. This will be my first and only tutorial in this thread.

Here's one way of erasing single-coloured backgrounds against complex shapes like starfields, explosions etc.

I stress that there is no single right way to do anything in Photoshop. I believe it's actually a strength of the program that many roads lead to rome. This is just the way I do it. I'm assuming at least basic knowledge of layers and masks in Photoshop.

Taking the Living Daylights poster as an example.


Make sure you have the Layer Palette open.
First copy the layer so that you have two identical layers of the poster.
(Layer-> Duplicate Layer)

Turn off the top layer (Click the eye-icon) and activate the bottom one. Unlock it by double-clicking so that it becomes "Layer 0".

Go to Select -> Color Range. A new meny shows up. Use the eyedropper tool to select the black area in the preview window and set fuzziness to 150 (whatever seems to encompass all the blacklevels in the poster.)
Click OK.

You should now be left with an active selection (marching ants) around every black pixel in the image.
I usually feather this selection (Select-> Modify-> Feather) by 1 pixel to make the edges smoother.

Leaving the selection active, go to Layer-> Layer Mask-> Reveal all.
The layer mask thumbnail should be visible next to "Layer 0" in the Layer Palette.

Use the Paint Bucket tool to fill the selection with black.
Deselect (Control D)

Now you're left with a version of the poster with no black in it at all:


But we want to reinstate the black in the actual image. That's where the duplicate layer, "Background Copy" comes in.

Activate the "Background Copy" layer again (Click the eye-icon).
Click Layer-> Layer Mask-> Reveal All.

Using a large brush, 0% hardness, manually paint the mask around the edges of the image so that the underlying layer (The no-black layer) comes through, leaving the center of the image alone. It's an artistic call where you paint out the blacks or not. The good thing about layer masks is that you can add or subtract to them indefinitely, without destroying any of the underlying image.

Here's a work-in-progress:


When you're satisfied, all you do is merge the two layers
(Shift-click both layers in the Layer Palette, right-click and choose Merge Layers in the drop-down menu. Don't use Flatten Image because you'll lose the transparency. Erase the writing either before or after you merge.
You are now left with this:


Drag 'n drop into your cover or save as a separate PSD-file for future use.
Dude, Nissen, this tutorial was BADASS, thanks... I'm sure other amateurs not just me really appreciate this...
  Reply With Quote
Reply
Go Back   Blu-ray Forum > Movies > Blu-ray Movies - North America

Similar Threads
thread Forum Thread Starter Replies Last Post
Custom cover art for Blu-ray printing thread General Chat bpmford 81 04-29-2024 11:54 PM
Official Custom SteelBook™ Cover Art Thread Blu-ray SteelBooks jamesaevans 265 05-05-2019 02:29 AM
Official Custom Cover Art Thread(Archived Posts) Blu-ray Movies - North America Trean 2598 05-21-2009 07:22 AM
Custom Cover Art - Questions About... Blu-ray Movies - North America Trean 0 05-15-2009 05:19 AM

Tags
art, cover, cover art, coverart, insert, print, printer


Posting Rules
You may not post new threads
You may not post replies
You may not post attachments
You may not edit your posts

BB code is On
Smilies are On
[IMG] code is On
HTML code is Off

Forum Jump


All times are GMT. The time now is 06:47 PM.