Hi guys!!!
I will have to post this on different posts because it is a LONG read.
Since I've enjoyed many threads here about building a dedicated HT room, I decided to make my own build and here is my own HT thread.
As many of you already know, I have been working on a HT project for some time (about 6 months). Finally, I'm getting to the final stages and wanted to share it with all those who helped/guided me along the process. I took several photos (step by step) of the hole process but of course, I won't post all of them.
First, a list of my setup:
(I already received some of the upgrades which are in their boxes)
HT ROOM DETAILS:
10' Wide X 12' Long X 9' Tall
- Auralex acoustic foam.
- All power cables, speaker wires and interconnecting cables were installed in-wall.
- Speaker wires are Bluejeans, AudioQuest and regular Radio Shack. All are 14AWG.
- 47" Samsung Plasma (soon to be replaced by a 60" Samsung or LG LED Display)
- PS3 for gaming an Blu-Ray playback (soon to be replaced by an Oppo BDP-95 for Blu- Ray playback)
- Brand new Xbox (in its box but the cables are already installed)
SPEAKERS: (I like old stuff and old and classic speakers, so I decided to use my old speakers for this photo shooting instead of my Andrew Jones towers)
- FRONT SPEAKERS:
MAIN TOWERS - The main two towers are the STS-800.
CENTER SPEAKER - Cerwin Vega (model E.D6C)
(They are all going to be replaced by my 3 new Pioneer's Andrew Jones SP-FS52 towers)
- SURROUND AND FRONT HEIGHT SPEAKERS:
Optimus LX5-Pro (soon to be replaced by Definitive Technology (model SR-8040BP or similar)
- Denon AVR-2312ci Receiver
- Onkyo 6-Disc DVD Changer (model DV-C600)
- Sony Hi-Fi VCR for my old VHS collection (model SLV-779HF)
- Subwoofers:
FRONT: MTX 12" powered subwoofer (model PSW-101B)
REAR: Energy S10.3 powered subwoofer
"NOW, TO THE MAIN EVENT!!!" - MY HOME THEATER BUILD!!!!

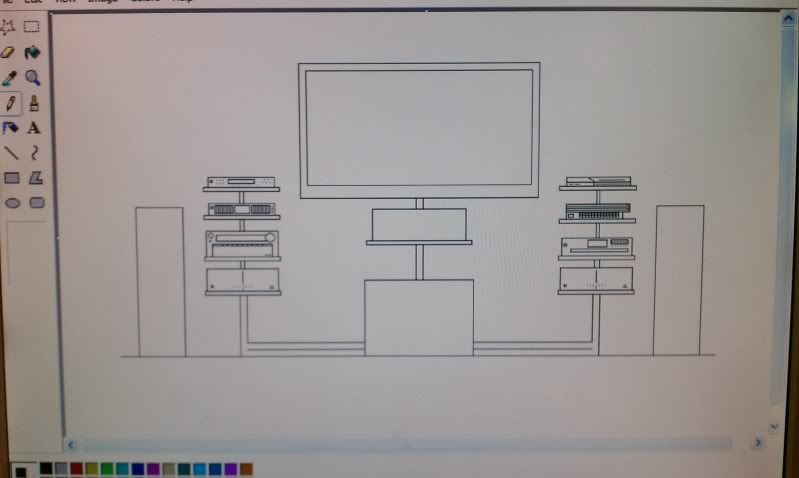
It all started, when I made some drawings in Paint of how I wanted it to look like.
This is the drawing:

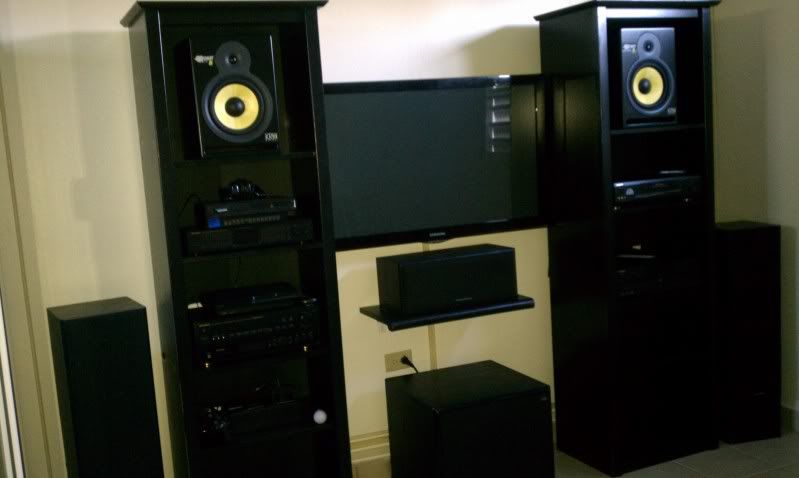
This is how it looked like in reality:
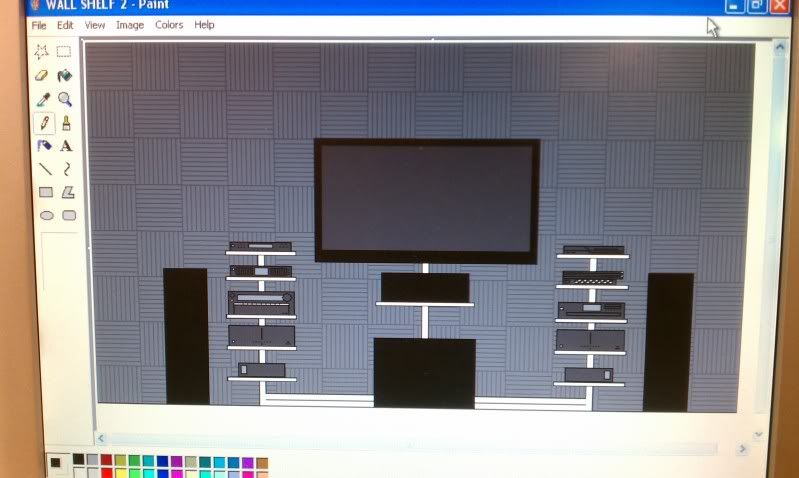
Then, after talking to some of the guys, I concluded that those two furniture towers had to go. So, I made a different drawing with adjustable shelves instead.
This is the drawing eliminating the furniture towers:
I already had some auralex foam, but got a little curious about getting some extra auralex foams to help with the horrible reflections/echoes of my HT room. So, I combined some auralex designs and put them together again in Paint just to see it.
This is how it looked like:

It would look something like this when put all together - I liked it very much!!!
I liked the way it looked, so I made a loooong list of what I needed to get it done (too long to list it here). I bought almost everything including the auralex foams, a new receiver, speaker wires, new front speakers, a second subwoofer, adjustable shelves, curtains for both sides, an air conditioner, wood panels, etc...
I knew that it was going to take a while for for the other stuff to arrive, so I began working on the room to get it ready. I painted the walls burgundy and the ceiling charcoal gray (almost black). Maybe next month, I will be installing some LED blinking stars strings in series.
These are some of the pictures of the side walls before and after.
The complete left wall is actually a closet with 2 glass rolling doors. I decided to buy matching curtains for both sides.
This is the left wall: (after I installed the curtains)

Right wall: (before)

Right wall: (after)

After a couple of weeks, all the remaining orders began to arrive and I was able to begin with the fun part - THE FRONT WALL!!!
This is how my livingroom looked like when I unpacked one of the auralex foams. The princess of the house wasn't very happy about it, but she is a very understanding person

Then, I started the front wall process by removing the old wires and preparing the new ones, the adjustable shelves and installing the auralex treatment.
To be continued......
")
")
")
")
")
")
")
")
")
")
")
")


 Threaded Mode