We finally closed on our house, and it has a great 13'x24' room in the basement that I thought would be perfect for the dedicated home theater we've been wanting for a while. I decided to dive in head first, and I started this thread to bring you all along with me!
I am hoping to document the build from demolition to finishing, and will try to take plenty of pictures if I remember. I am open to any advice on anything I'm doing wrong or could be doing better (as long as it doesn't break the bank!), and I'm sure I'll have plenty of questions I'll have to post in this thread as the build progresses.
__________________________________________________ _______________________________________________
My overall plan is:
-- Walls
* Drywall with fiberglass insulation batting underneath
* Some sort of acoustic foam panels (will have to read up more on this)
* New outlets and covers
* Build custom fit insulation-filled "plugs" to fit in window frames to block light and sound
* Possibly 2 wall sconces on each side of room (I am contemplating recessed lighting in the ceiling instead)
* Equipment shelving recessed into wall (see picture below for description)
-- Ceiling
* Drywall with fiberglass insulation batting underneath
* Run all wire (speaker, video, sub, ethernet, etc.) through ceiling, preferably in conduit for futureproofing, into the storage closet under the stairs
* Binding post speaker plates in ceiling for side and rear surrounds for a clean look
* 2 recessed lights shining on the screen
-- False wall for screen in front of stove wall
* DIY 120" screen
* Acoustically transparent panels to hide 3 front speakers
-- Flooring
* Carpet (I'm looking in to carpet tiles instead of rolls of carpet for ease of installation)
* Threshold plate coming into room to separate wood laminate from carpet
* Some sort of vapor barrier instead of putting carpet down on bare concrete (have to research this)
-- Seating
* DIY platform for 2nd row of seating
* Front row: Berklines, not sure which model yet, will have to research with respect to room size
* Rear row: some home theater seats I already have, to hopefully be replaced with whatever I buy for the front row in the future
-- Equipment, Speakers
* Projector: Epson 8100, should arrive this week, sometime around Thursday (11-12-09)
* Subwoofer: Hopefully replacing my current Polk PSW-10 with an SVS PC12-NSD
* No money for more new stuff right now after all of the above, so I will be using an Onkyo 605, PS3, Polk Monitor 60s, Polk CS2, and Polk Monitor 30s
__________________________________________________ _______________________________________________
So, on to the pictures of the build! (By the way, the date on my camera is wrong, so disregard the dates

)
When we bought the house, they had remodeled the entire main level, but the finished basement was still the original work from the '70s with some new paint over top. I'm talking wood panels on the walls and decorative foam beams stained to look like wood on the ceiling. This was all painted a nice neutral color, but it was still quite the eyesore and was not going to work for a dedicated theater room, especially the beams that took up another 6 inches from an already short ceiling (7 feet).
I decided it would be best to tear this all out and start from scratch, planning the room around the theater instead of trying to fit the theater in the room.
Here is the room before I began demolition:
 Back of the room
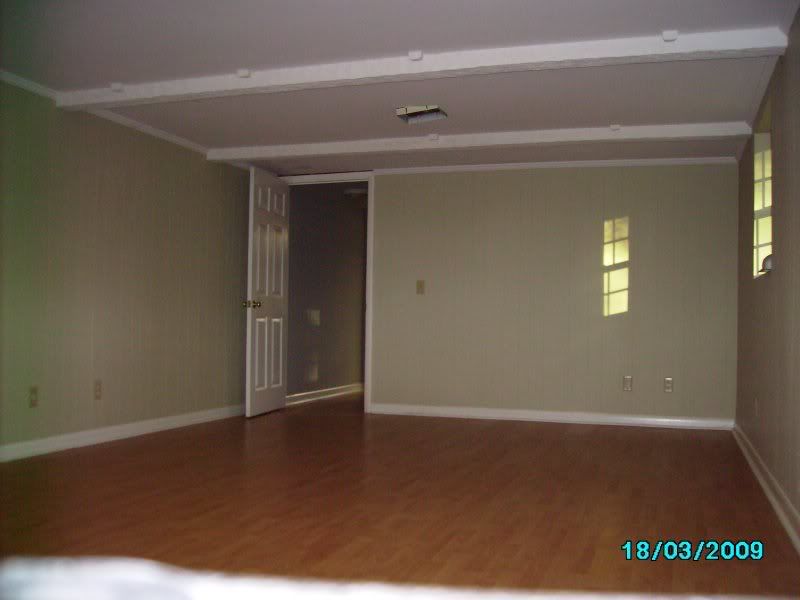 Front of the room
 View of the room from the hallway
Here is the room through and after demolition:
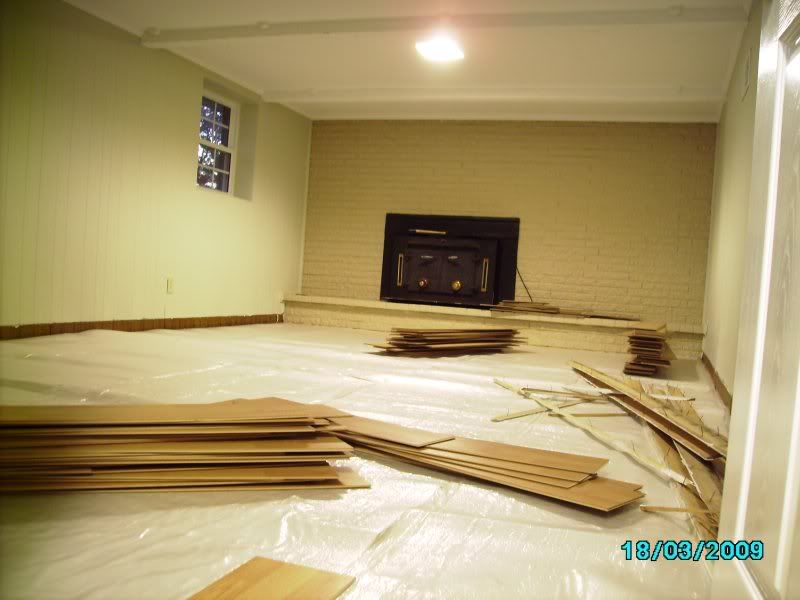 Right after I pulled the floor and molding out
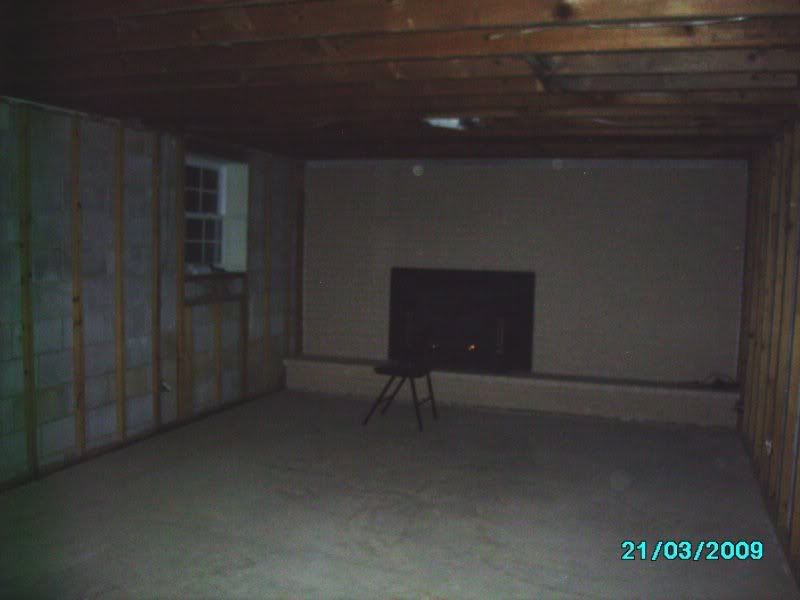 Room entirely gutted, waste removed, and swept/vacuumed. I was too tired to take pictures until this point Trust me it was a MESS.
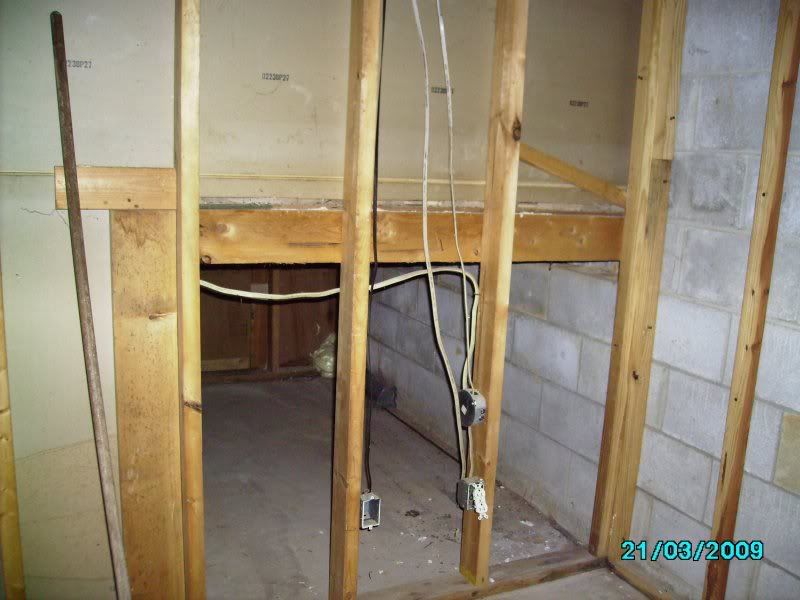 This is a shot of the front theater wall next to the entrance and the adjoining storage closet under the stairs, opposite where the screen wall will be. I plan to cut out the studs to open it up, and install some recessed shelves in the space under the stairs for all of the equipment. I will relocate those outlets under the stairs and have all cabling running behind the wall and into the room under the stairs for a very clean look with no visible wiring anywhere. The shelves will be flush with the finished wall, taking up no space in the theater room and allowing easy access to equipment from within the theater room.
__________________________________________________ _______________________________________________
Update: November 24, 2009
I have completed a lot of work to the room since my last update:
-- Ran all of the cabling, terminating to new wall plates
- 7 speakers
- Subwoofer
- 2 HDMI to projector
- 2 ethernet to equipment room (may run a 3rd)
-- Installed new gang boxes and outlets in room
-- Ran 3 dedicated theater room circuits
- 2 in equipment closet
- 1 behind false wall for the subwoofer
-- Ran a ceiling mounted outlet beside the projector that runs to an inlet in the equipment closet so I can attach the projector to a UPS.
-- Installed 6 recessed lights
-- Installed Lutron remote controlled fading dimmer switch
-- Finished building and painting the shelves and recessed them in the wall
-- Built the false wall
Here are the pictures:
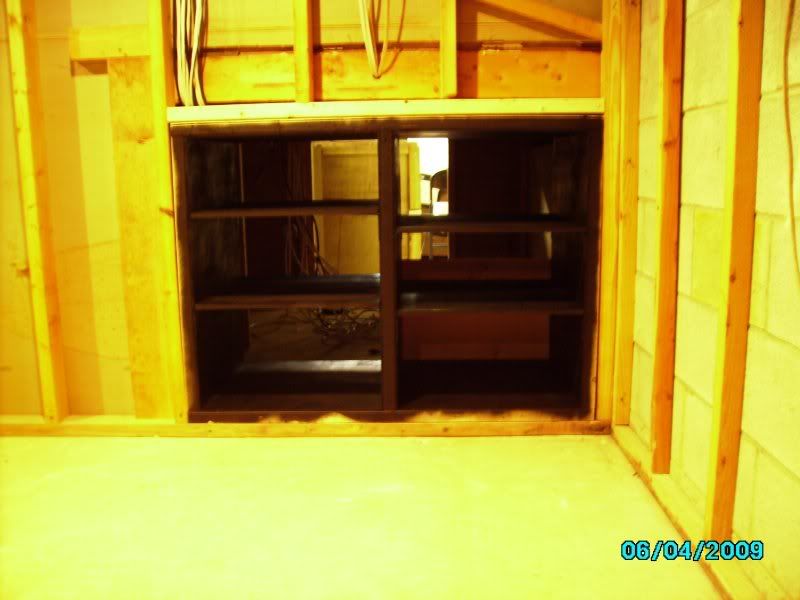 Here are the shelves (mainly) finished and recessed. The only thing left to do is screw the back panels in (you can see them leaning behind the shelves), and cut some holes for the wires to run through. The iffy painting on the sides will be covered up by trim
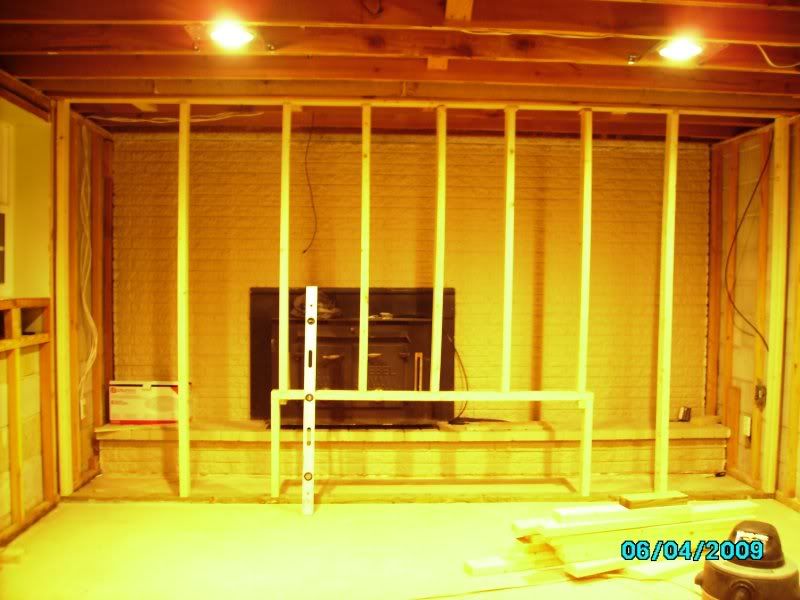 The completed false wall. I made a measuring mistake, though, and I may have to add 2 studs to be able to support the 120" screen's width.
 Here are the recessed lights. They were fairly easy to install.
 Here is the Lutron dimmer. It is remote controlled, so I can control it with my Logitech Harmony 550. It fades from off to on or on to off, which I thought would be a great effect, just like a commercial theater. You can also set a favorite brightness level and fade to and from that level.
 Here is one of the ceiling mounted surround speaker plates. I picked up 4 of these for the surrounds from MonoPrice. Behind the false wall is a 3-speaker plate for the left, center, and right speaker.
__________________________________________________ _______________________________________________
Update: December 9, 2009
I have made tons of progress on the room (or so I would like to think

)! Since the last update I have:
- Insulated all walls
- Hung all drywall on walls and ceiling (which I hope never to do again hah)
- Mudded/sanded all drywall
- Primed all walls
- Painted ceiling and walls
- Painted trim
Here is slew of new pictures:
 Beginning to drywall, have a few pieces up on the ceiling and one side wall
 A better picture of the side wall fully drywalled with some mudding done
 A closer look at some beginner hanging/mudding on the side wall
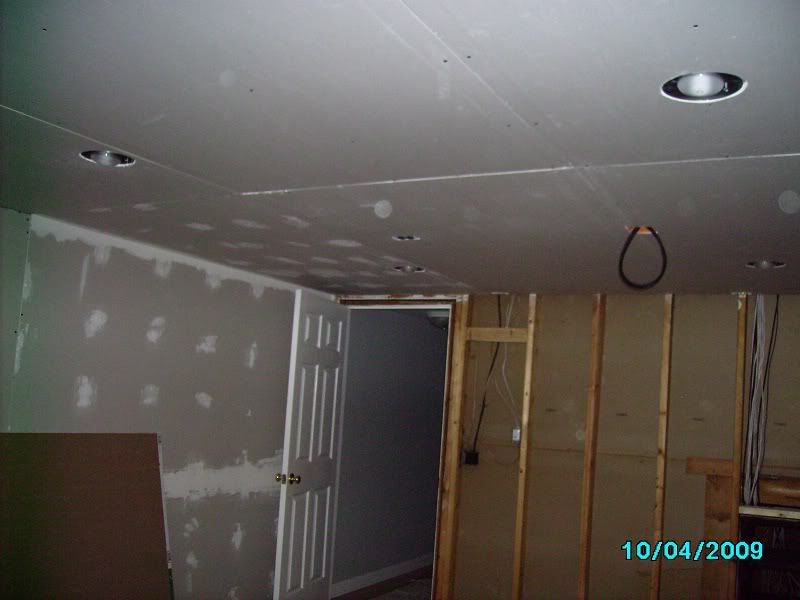 Here is a shot facing the door of the ceiling and one side wall hung
 Here's a closeup of the 2-gang box I'm using for the HDMIs and one of the recessed lights
 Back wall completed, shelves now enclosed
 A shot of the primed ceiling
 Another shot of the primed ceiling
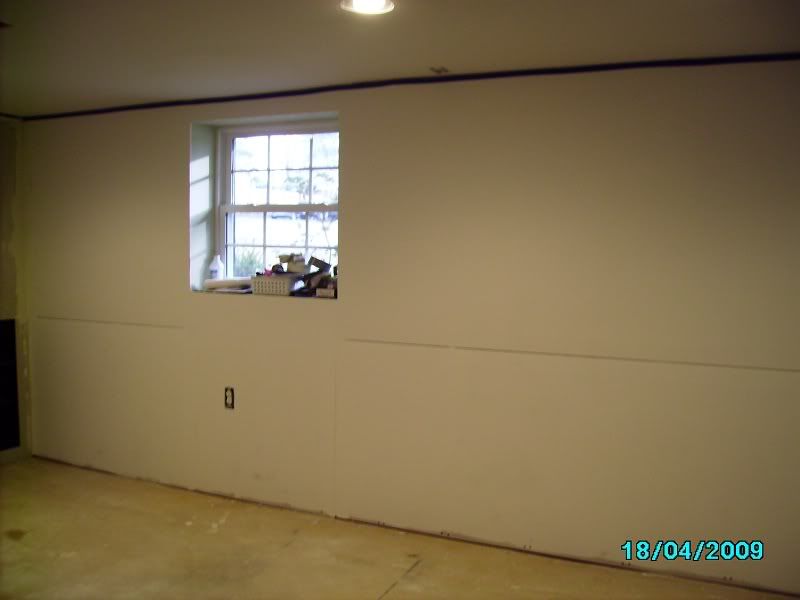 Walls primed (those bare joins will be covered by a chair rail, I got really tired of mudding )
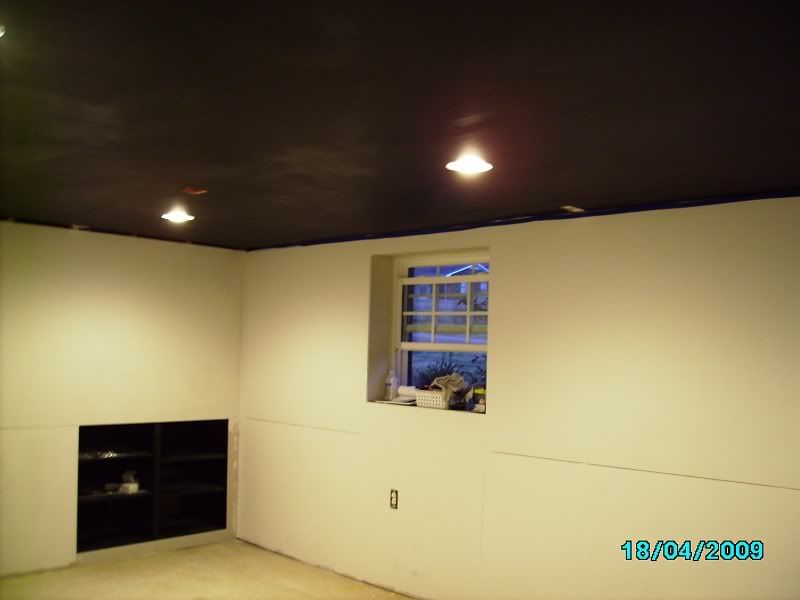 Ceiling painted flat black
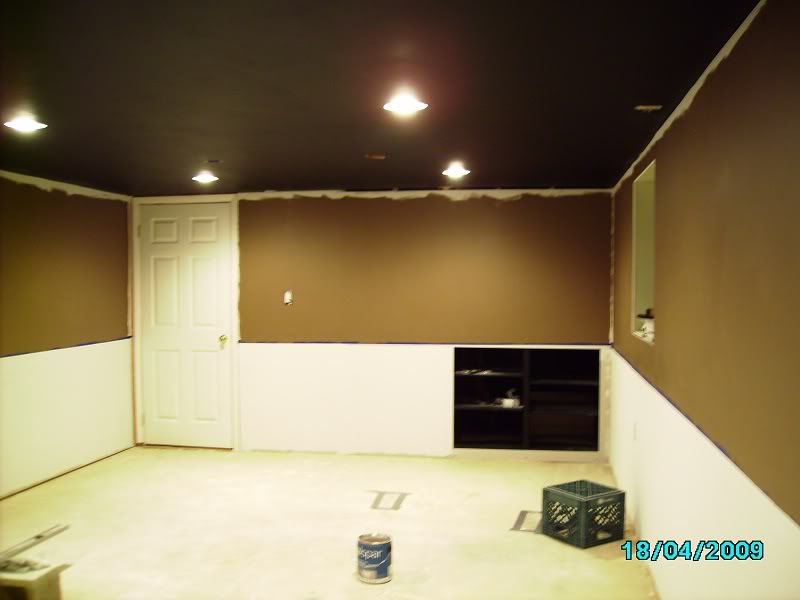 First wall color up, it's actually a darker brown than that in person
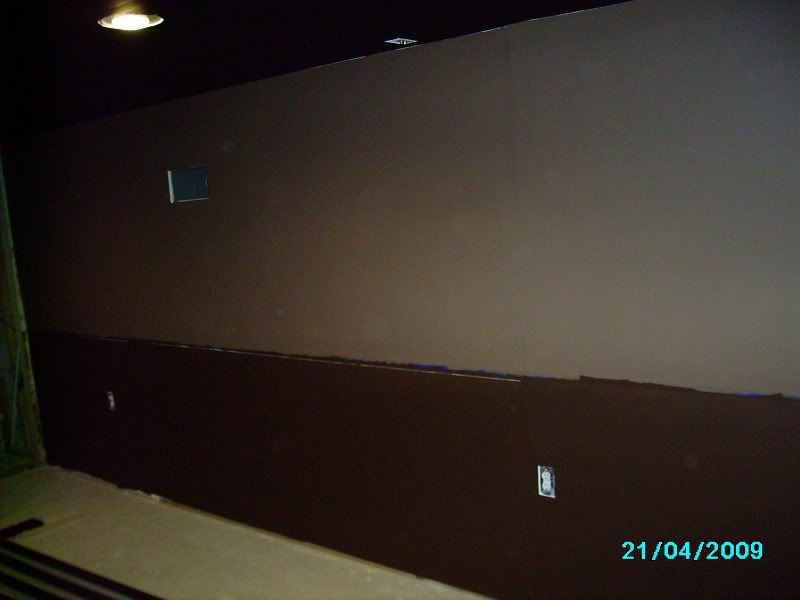 Second wall color up
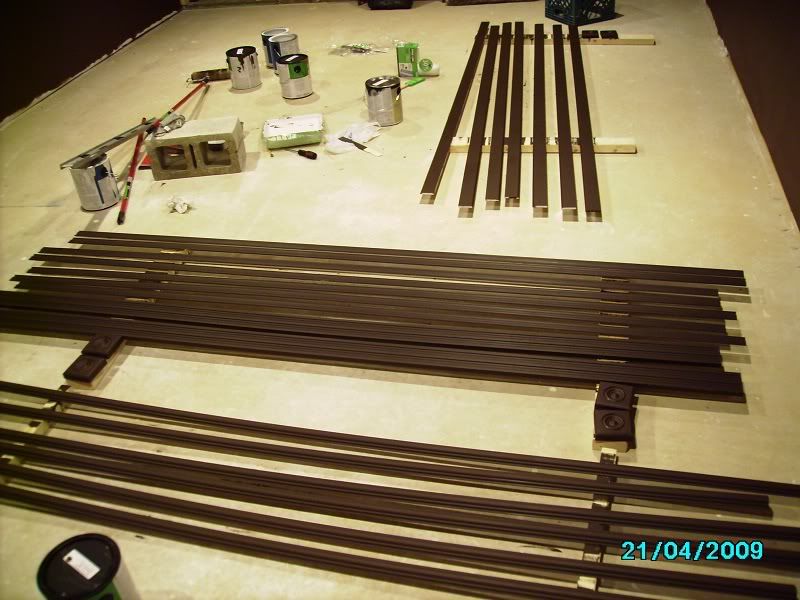 Trim painted and ready to be installed
 A shot of the 5'x10' sheet of Wilsonart laminate
__________________________________________________ _______________________________________________
Update: December 28, 2009
I have finished the room since my last update! Left to do (and now finished) was:
- Put up the molding and touch up all paint
- Build the 2nd row platform
- Carpet the platform and room
- Build the screen and velvet border and mount it
- Build and mount the GOM-wrapped panels to fill in the rest of the screen wall and hide the speakers
- Mount the projector
- Move in the seats, equipment, and speakers
I have pictures of everything except the equipment/speakers and the GOM-wrapped panels, which you can see when I take the final pictures of the finished room to show in my HT gallery. Until then, I have a lot of pictures of the work in progress below!
 Unfortunately, I neglected to take but one blurry picture of the trim before I went on, but I will have plenty in the final pictures.
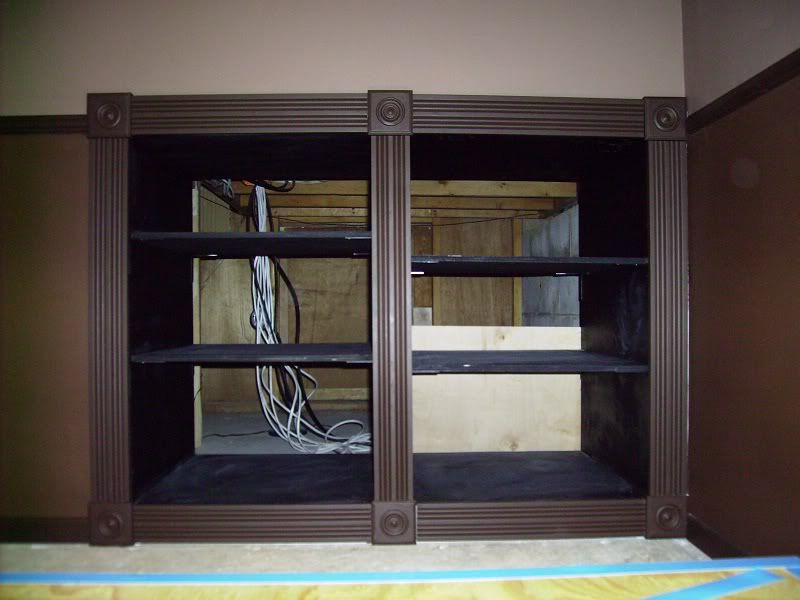 This is a great picture showing the trim work on the shelves, and the flash illuminated the tangle of cables coming out behind the shelves and some spare wood
 I also neglected to take any pictures of the frame of the platform before I put on the plywood.
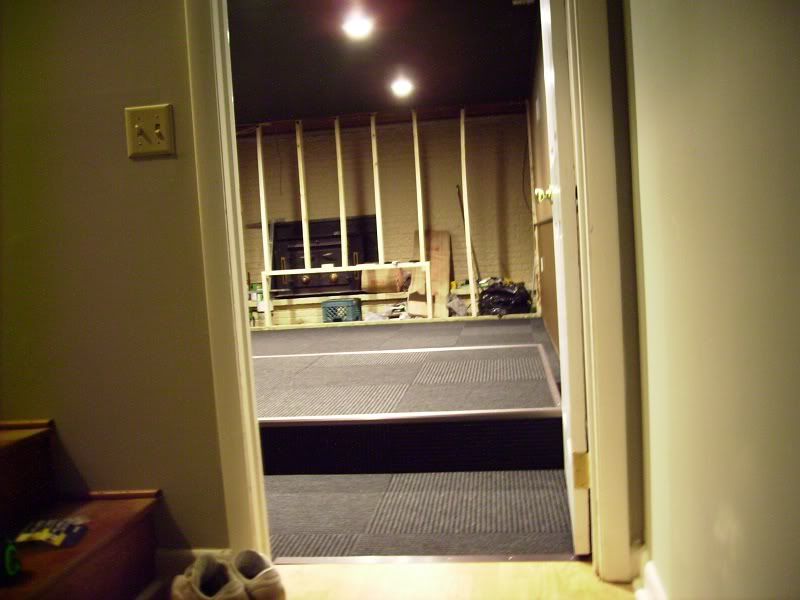
 This picture shows the platform beginning to be carpeted, and also shows carpet already laid from the platform to the screen wall.
 Another view, also showing some of the wood to be used for the screen, and a better look at the carpet already down on the floor.
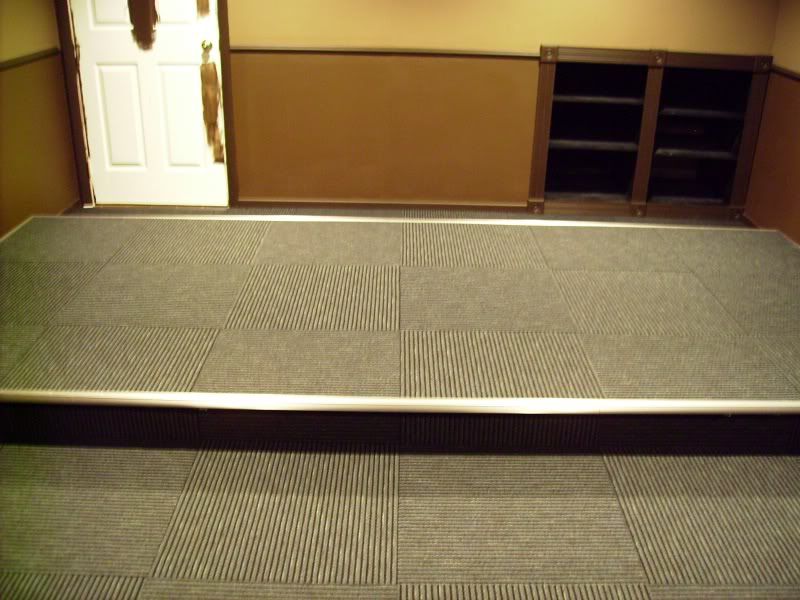
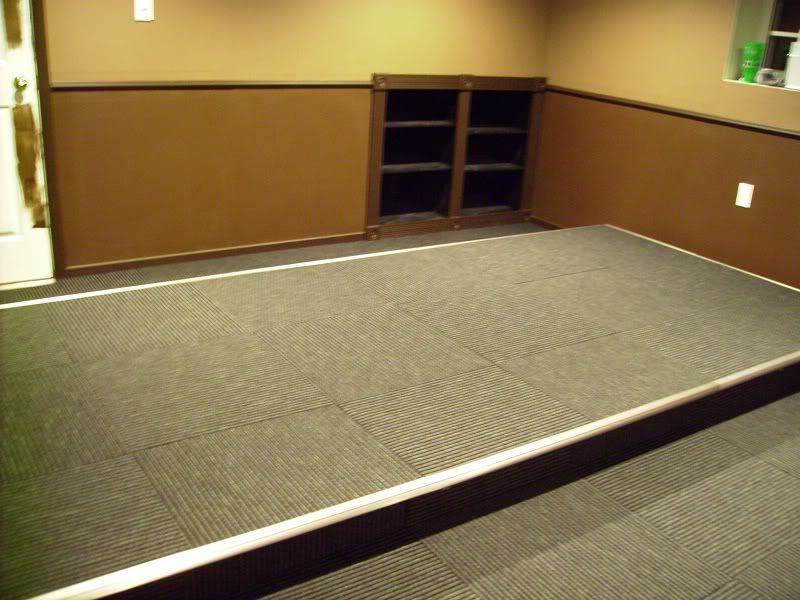
 A good photo showing the platform in the context of the entire room.
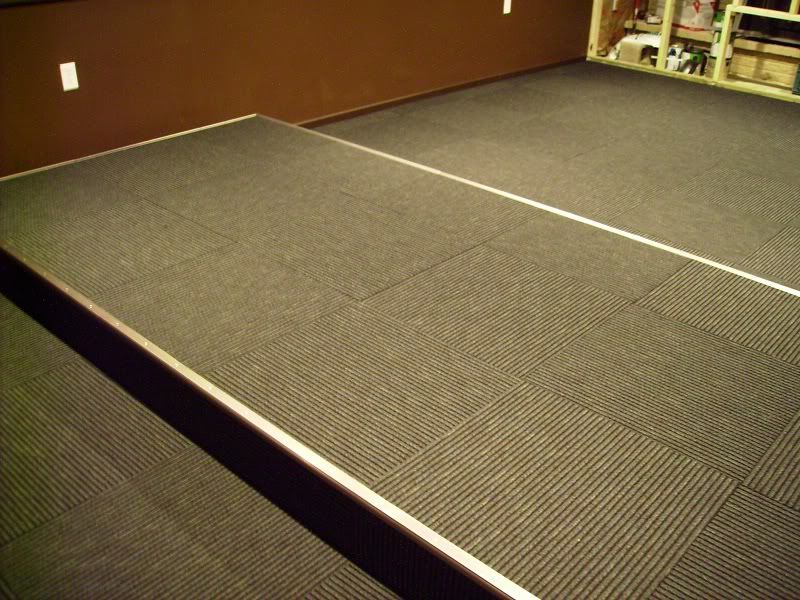 Platform finished, and it and the entire room carpeted. I installed aluminum stair edging around the perimeter of the platform, and mitered the corners.
 Another shot of the carpeted platform and room.
 Another shot of the carpeted platform and room.
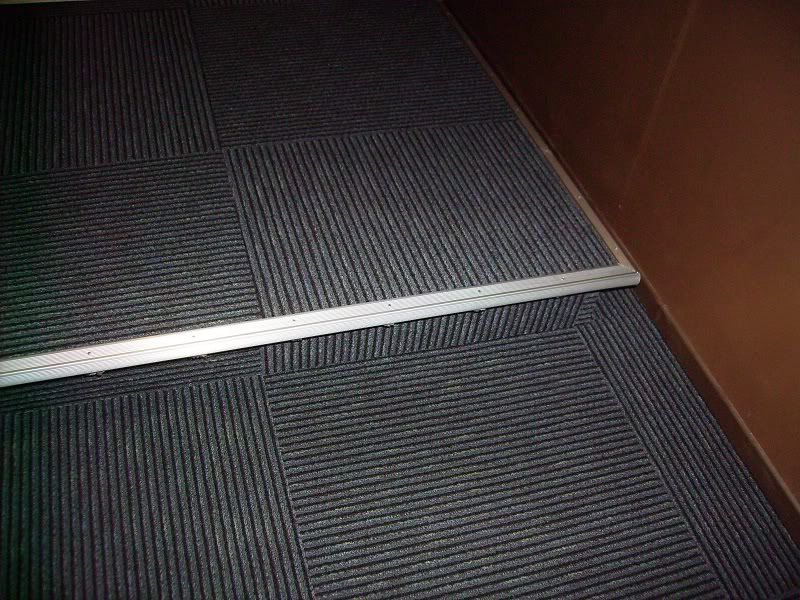 A closeup of the side and mitered edge of one corner of the platform.
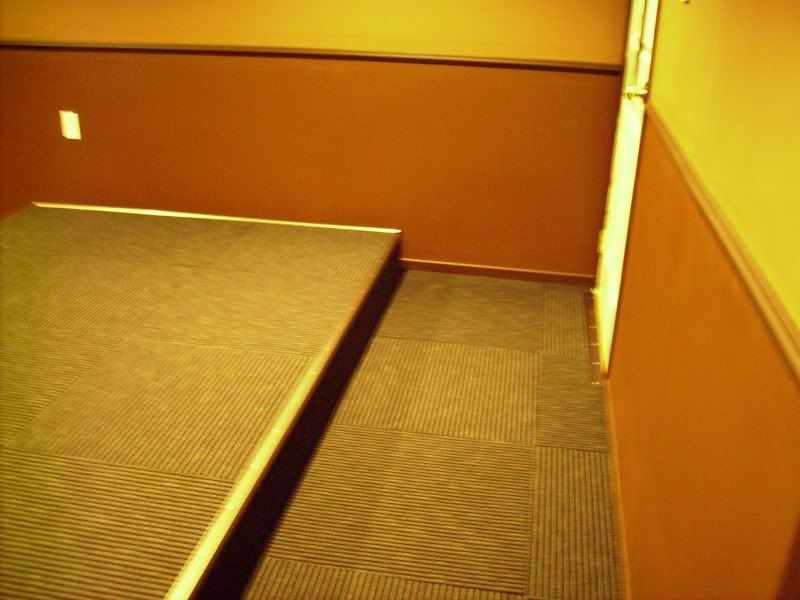 Showing the space between the door/wall and the platform.
 Looking at the shelves across the platform.
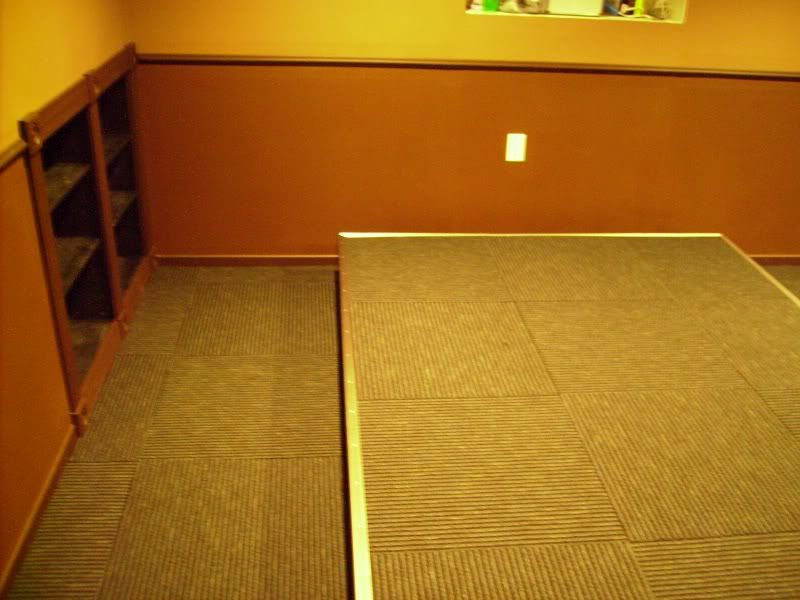 Standing behind the platform looking at the shelves.
 Looking into the carpeted room from the hallway.
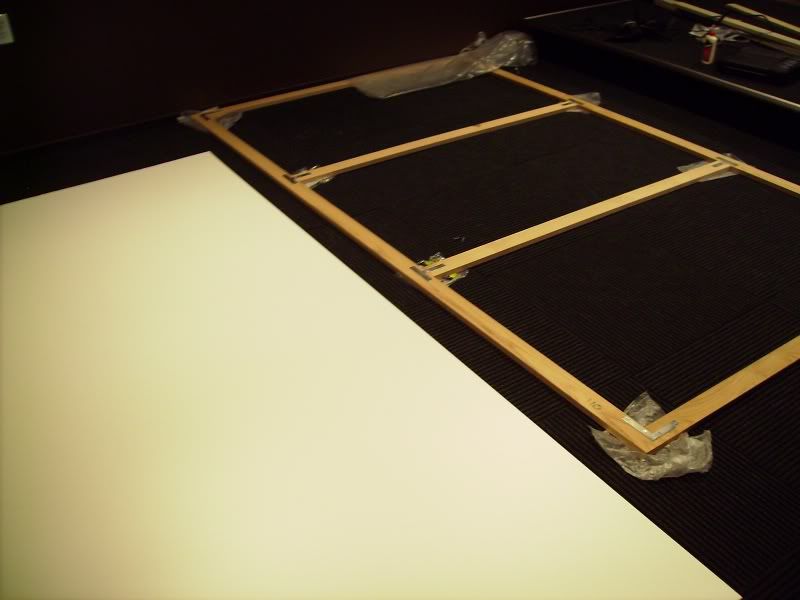 Building the screen frame with glue and brackets. I used oak from a hardwood specialty shop, and I went through the whole lot of 1x3s they had to find the straightest ones.
 Another shot, showing more of the laminate, now cut to proper size for the 120" diagonal screen.
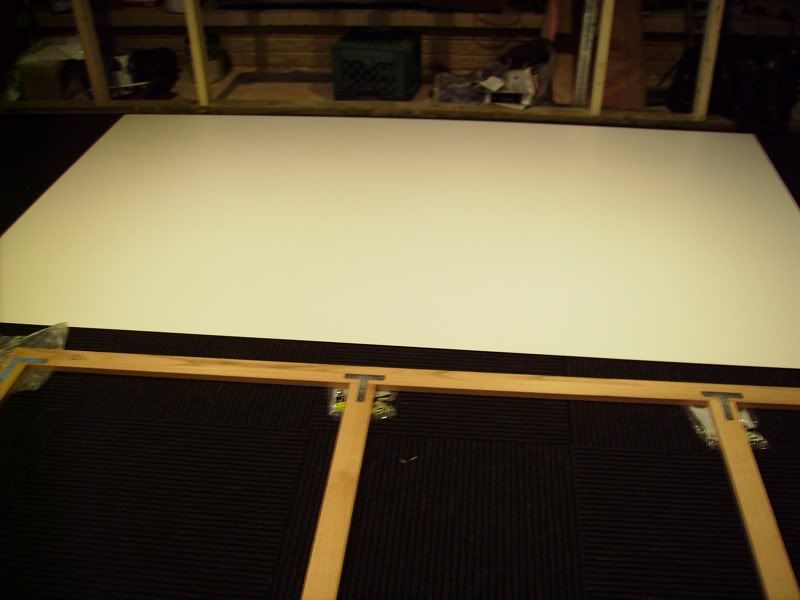
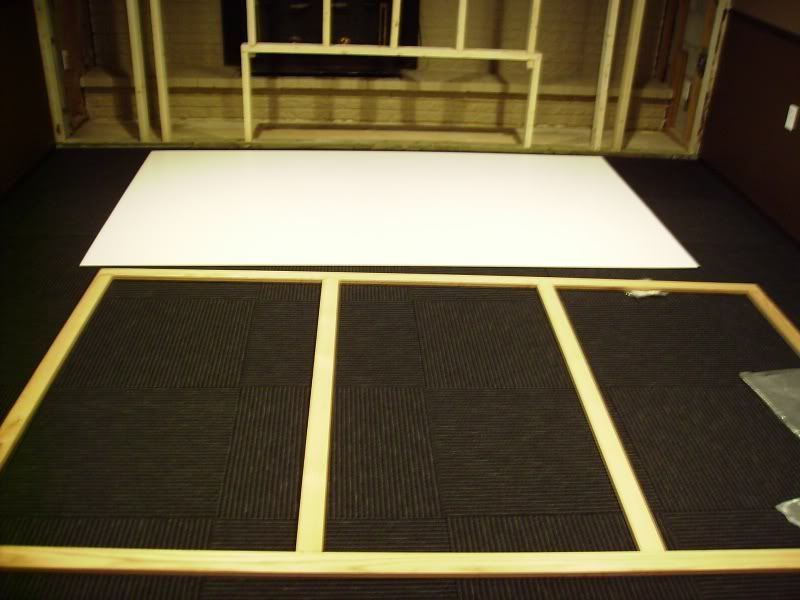 Frame flipped over and ready to have laminate attached.
 Laminate stapled onto frame, poplar boards laying beside to be used for the velvet border. The plan is to wrap velvet over the poplar, then nail the poplar to the oak frame. The screen will then be mounted to the false wall with screws going through both boards into the studs behind. The velvet will then be pulled around both boards and stapled to the back of the oak frame, leaving the velvet border raised above the screen surface and the GOM-wrapped panels once installed.
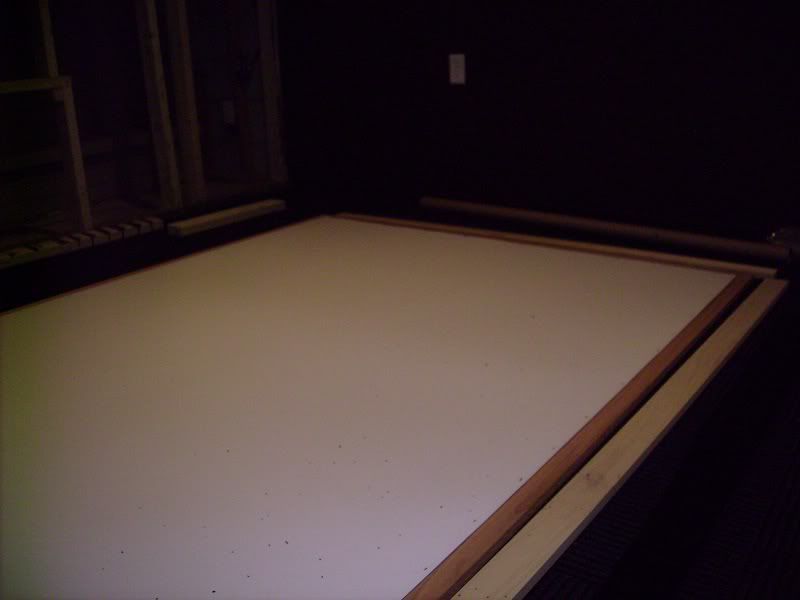
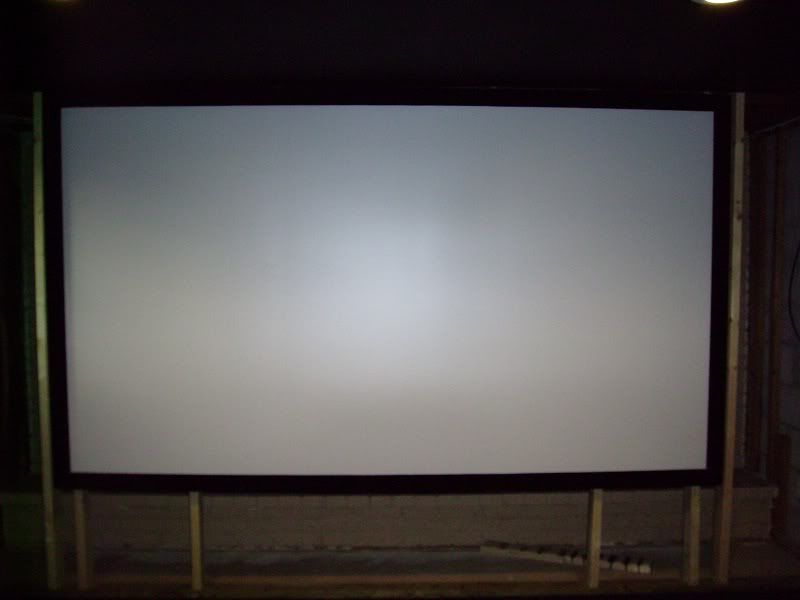 I was working so fast I once again neglected to take pictures of what I described above, so we now jump to pictures of the screen finished and already screwed onto the false wall.
 Another blurry shot of the finished screen.
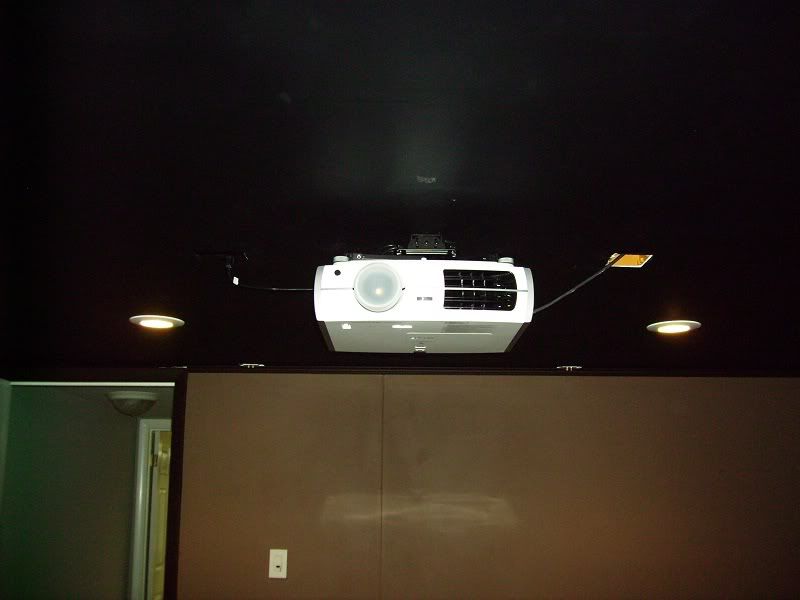 The projector mounted.
 Behind the projector, looking at the screen.
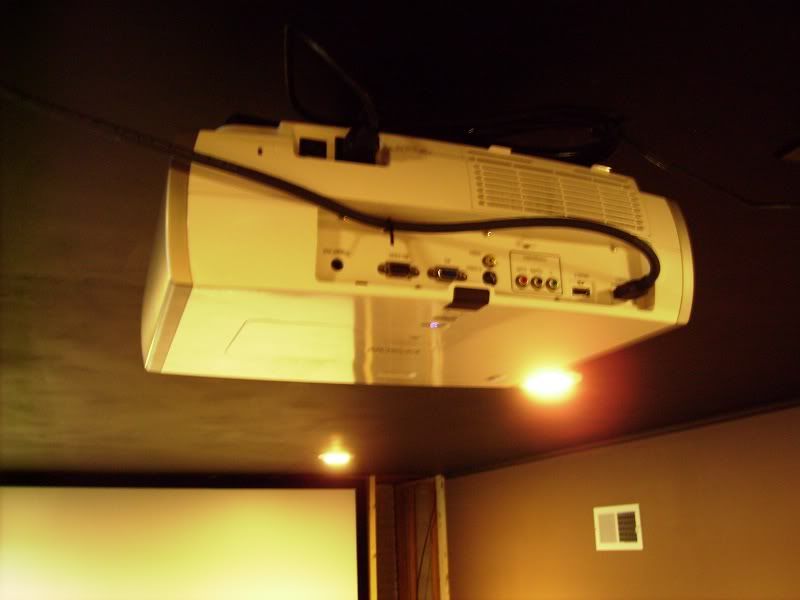
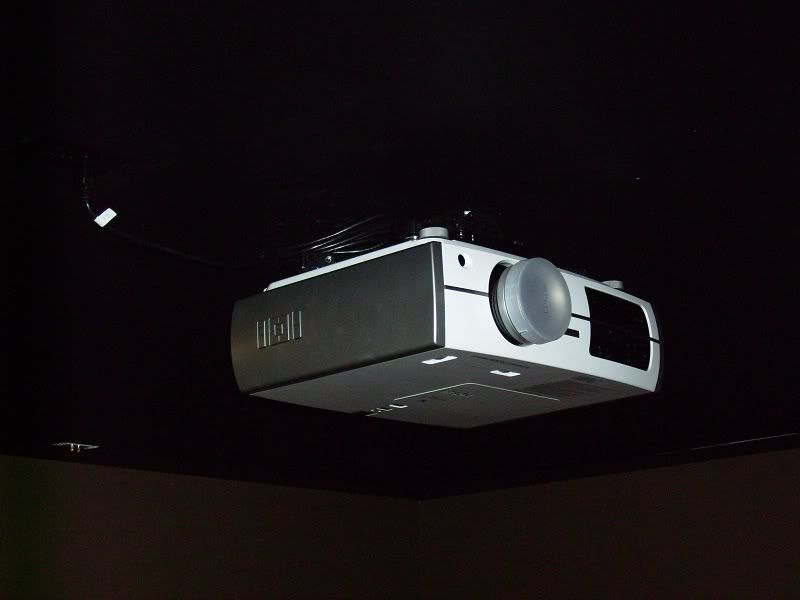 Another shot of the projector.
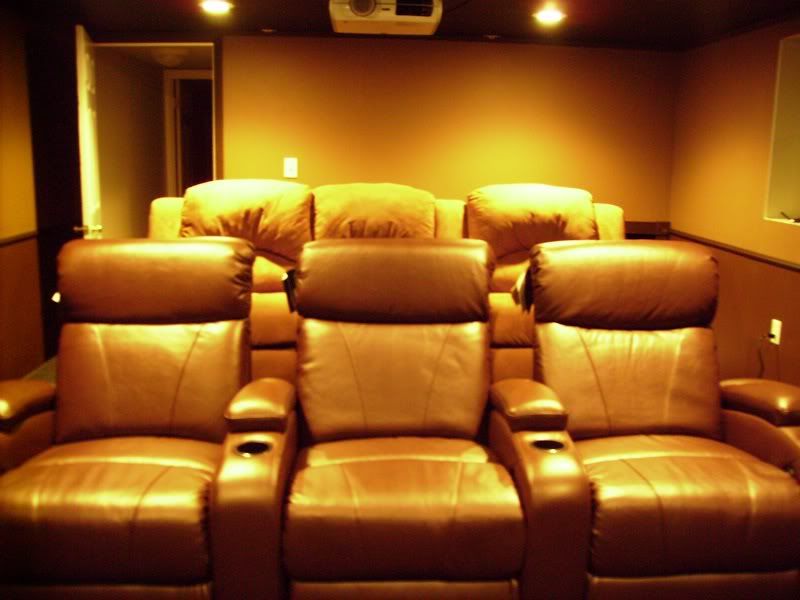
 I decided to move the seats in before building the GOM-wrapped panels. The seats closest in the picture are the brand new Berkline 12000s I got in this week. The second row are some no-name (but very well built!) theater seats we already had for our previous living room home theater before we moved into the house.
 An interesting story about the Berklines, the truck driver snapped our telephone line with the semi when he was making delivery of these! I wasn't too worried since I don't have a landline, but I called it in since I was sure our neighbors wouldn't be too happy
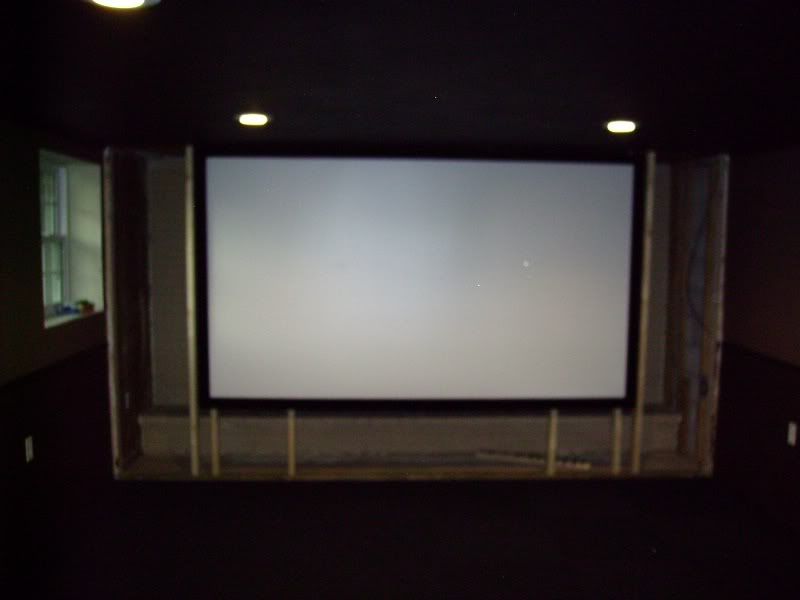
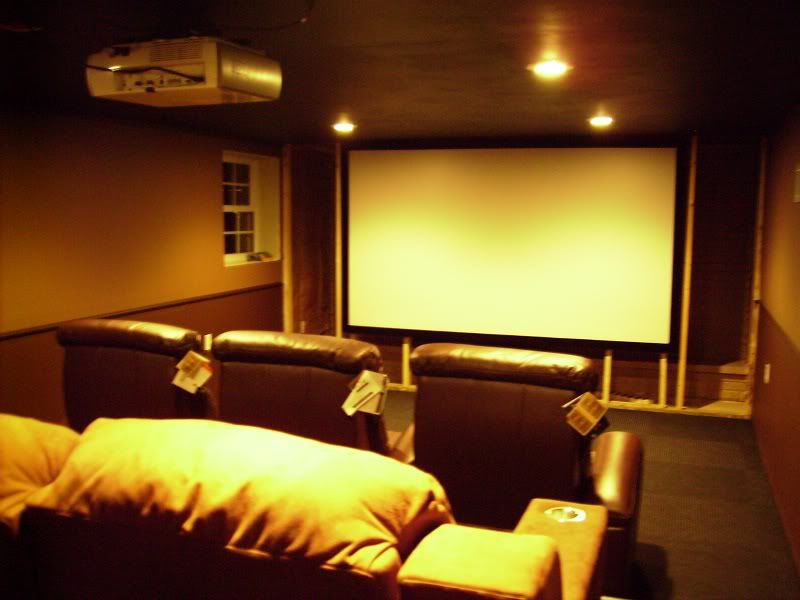 Looking past the seats to the screen.
__________________________________________________ _______________________________________________
Current build progress:
I have finished the room and will take a lot of pictures for my HT gallery here on the forums very soon! Here is a list of the equipment being used in the room:
Projector: Epson Powerlite Home Cinema 8100
Screen: DIY 120" Wilsonart laminate
Receiver: Onkyo TX-SR605
Blu-ray: Playstation 3
Speakers: Polk CS2 center, Monitor 60 fronts, Monitor 30 surrounds
Subwoofer: SVS PC12-NSD
I'm currently looking for a good (but relatively cheap) power conditioner/surge protector. If anyone has any recommendations, let me know! I am also considering a 3-channel amp like the Emotiva XPA-3, but honestly I can get this setup pretty loud and still sounding excellent, so I'm not sure. Oh, and the sub just BLOWS the room away! I was afraid it would be too small based on the raw dimensions of the room, but my fears have been put to rest!
")
")
")
")
")
")
")
")
")
")
")
")


 Threaded Mode