Several people have PM'ed me before about my DIY screen I made for my HT setup. Since I just ran across this section of the forum, I thought I'd put the info here:
I didnt take any pictures during the build process (sorry!) but I did do some retro images in 3D to explain the structure of the frame, etc.
Basically, the screen is like a huge artist's canvas, with a 2nd frame around the perimeter, that's covered in black material. The whole thing cost just over $100 and looks very good, both in-use, and not-in-use.
The frame is made from 1X3s bought from the local home improvement center, cut to size and assembled with angle brackets and flat "splice" joint brackets. Everything was sanded very smooth once assembled to avoid any bumps in the screen, or sharp/jagged edges to snag the screen material.
The screen material was bought off
EBay. You can find all sizes available for the screen size of your choice. I got the black material for the border at a local fabric store. Cost a whole $6 for enough for a 110" screen.
After that, the outer frame was cut and assembled in the same manner. The outer edge has been beveled to give a nice finished edge without looking bulky. I left approximately 1/8" in between the two frames, to allow for both the screen material, and the black border fabric.
Detail view. Corner view of joints/profile:


I spray painted the outer border black before covering in fabric, in case the wood might want to show through the fabric. The resulting 2 frames, should look like this once done:

Then comes the process of stretching/tacking the screen/border material to the frames. Patience is key here, and when done properly,it results in an absolutely flat screen with no wrinkles. The material is wrapped around the frames and tacked on the back side. I recommend using an electric or air stapler. I did mine with a T-50 hand stapler, and it was pretty rough on the hands!
Once both frames have been wrapped, a few flat brackets hold them together, and its time to mount to the wall! The 2 horizontal pieces on the upper back, are beveled along the bottom edge, and I used 2 blocks, with a matching bevel, to screw to the wall where I wanted to put the screen. The frame then hangs on these 2 blocks, and allows you to slide the screen left or right for precise positioning. Just be sure the 2 blocks are level with each other.

The end results should look like this:
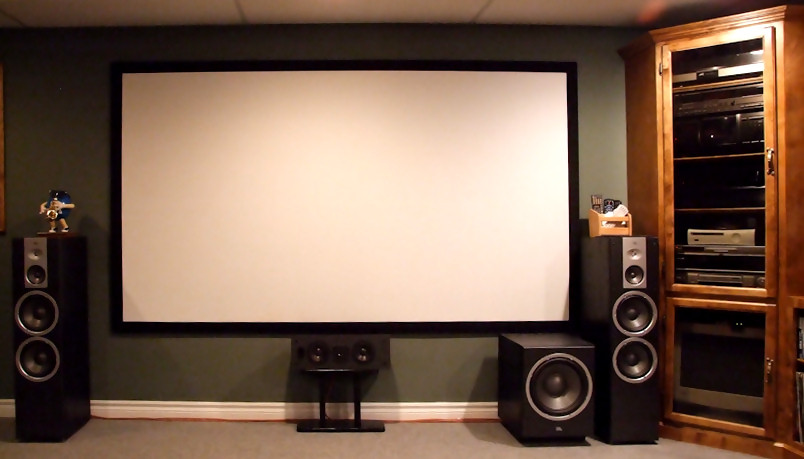
More photos can be seen in my
HT Gallery. Hope you'll decide to tackle this project before going to pay $800 for a commercial screen. Good luck and don't hesitate to ask, if you have any questions about the process.
CD
2018 UPDATE! Made a new version of the same screen, only this time, with LED backlighting. Here's a preview:

")
")
")
")
")
")
")
")
")
")
")
")


 Threaded Mode